
Create a workflow
Create a workflow
You start a workflow by describing the job. BetterClaw writes a draft for you to review, and saves nothing until you keep it.
Generate a workflow from a description
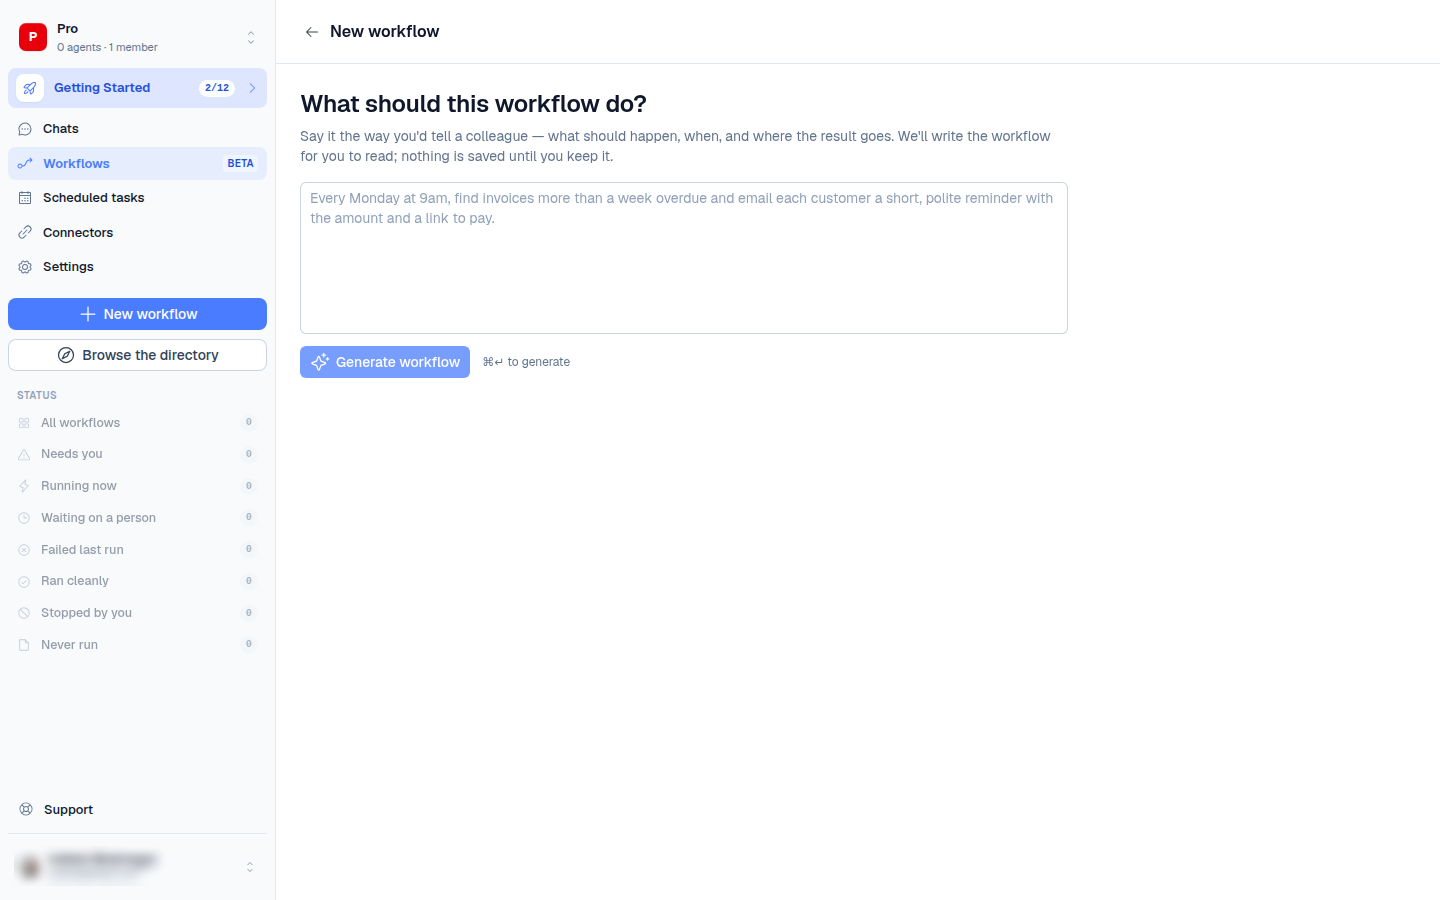
- Go to Workflows and click New workflow.
- Under What should this workflow do?, describe the job the way you'd explain it to a colleague. Say what should happen, when, and where the result goes. For example: "Every Monday at 9am, find invoices more than a week overdue and email each customer a short, polite reminder with the amount and a link to pay."
- If your workspace has more than one agent, choose the agent that will write and run it. You can switch to a different agent later.
- Click Generate workflow (or press ⌘↵ / Ctrl+↵). It usually takes under a minute.
- Read the draft under Here's what we'd build. It lists each section with its contract line and its text.
- Click Use this workflow to keep it. If the draft isn't right, click Try again, or reword your description and generate again.
When you keep the draft, the workflow is created and opens in the editor.
Start from a popular workflow
Before you generate anything, New workflow may show a list of Popular workflows. These are ready-made workflows from the directory. Pick one, choose the agent that should run it, and click Install. It is added to your workspace as a draft: no schedule and no runs yet.
What a new workflow looks like
A new workflow opens in the editor in Template view. The top of the document has:
- The title and description. Click either one to edit it in place.
- A row of controls:
- the agent that runs it
- the schedule ("Only when you run it" until you set one)
- the number of inputs, if it has any
- the number of connections, with a dot when one still needs connecting
Under that, the sections are listed in order. A note above the sections lists anything that must be fixed before the workflow can run, such as a connector that isn't connected. Click an item in the note to jump to its section.
Your edits save automatically, and the top bar shows Saving… or Saved. A new workflow isn't scheduled and doesn't run until you publish it or run it yourself.
Write a first draft from the description
If a workflow has a description but no section text yet, the editor offers Want a first draft from what you wrote? Click Write a first draft to turn the description into sections. The draft opens beside the document, along with any questions worth deciding before the first run. Click Use this to keep it or Discard to drop it.