
Quickstart
Quickstart
This guide takes you from a new account to an agent you can chat with.
1. Sign in (or create your account)
Go to the sign-in page and enter your email address. BetterClaw sends a one-time verification code (OTP) to your inbox — enter it to continue. There's no password to remember, and sign-in and sign-up are the same step: if you don't have an account yet, one is created automatically.
/sign-up simply forwards you to /sign-in.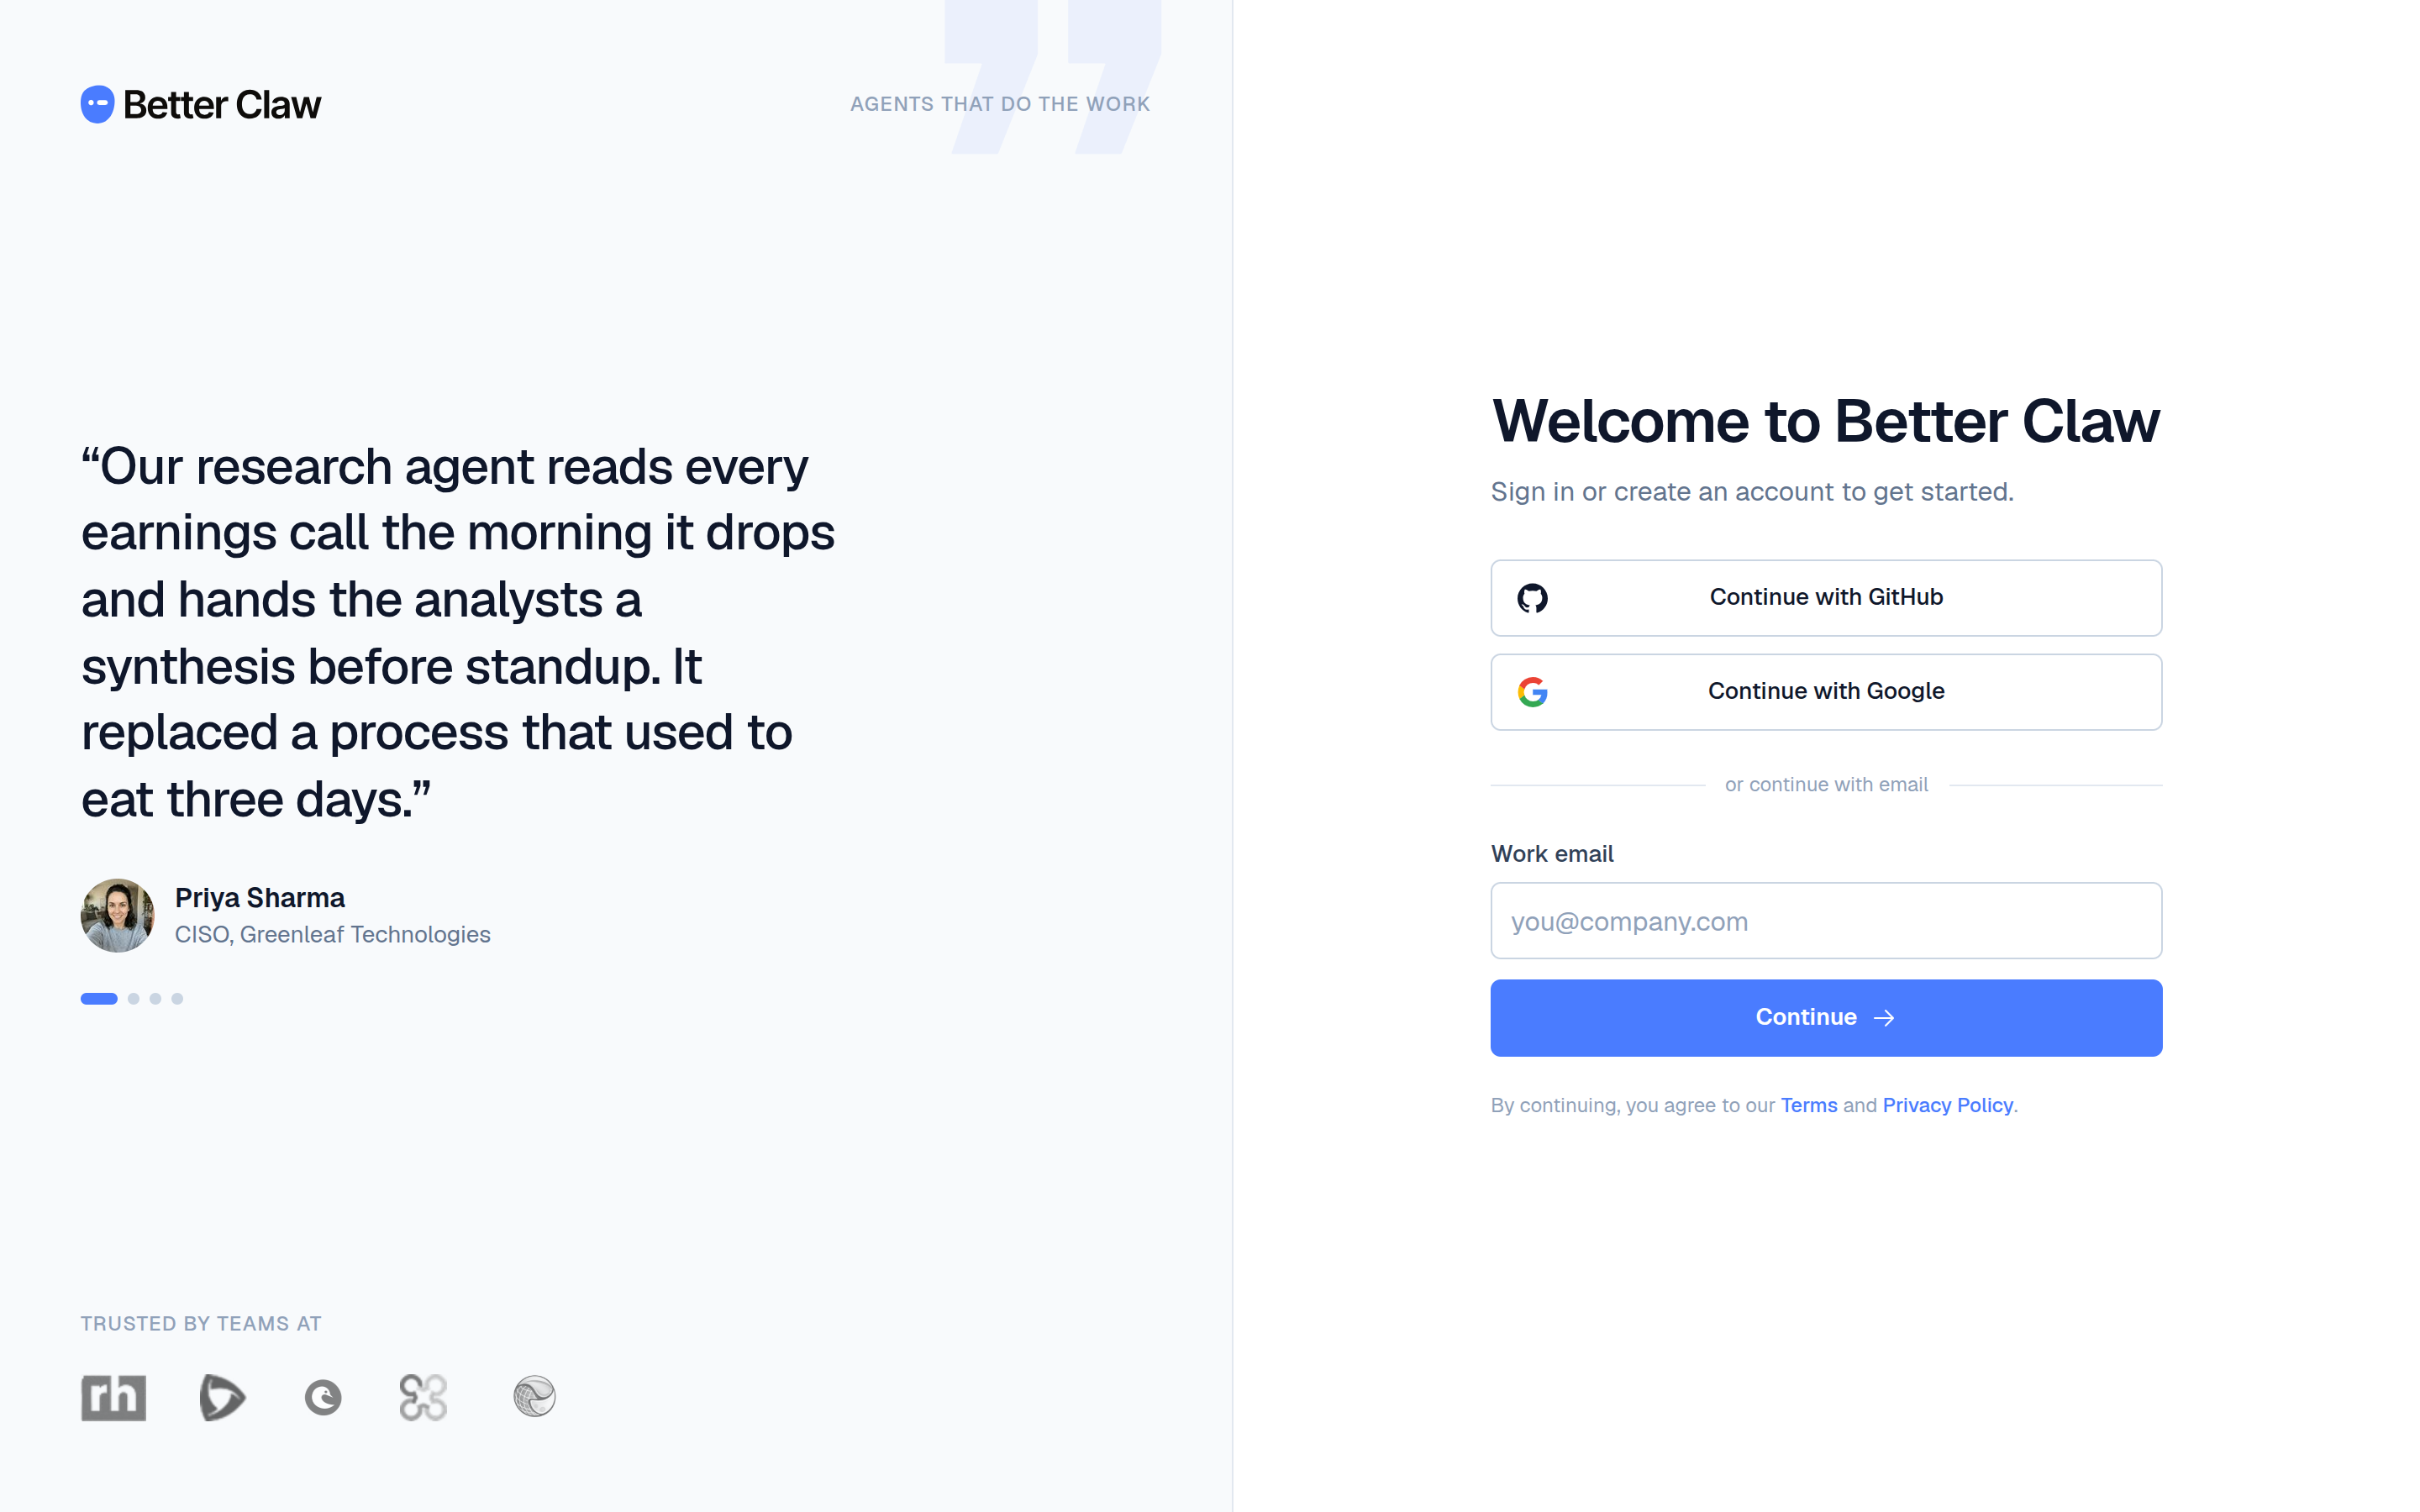
See Signing in for details.
2. Complete onboarding
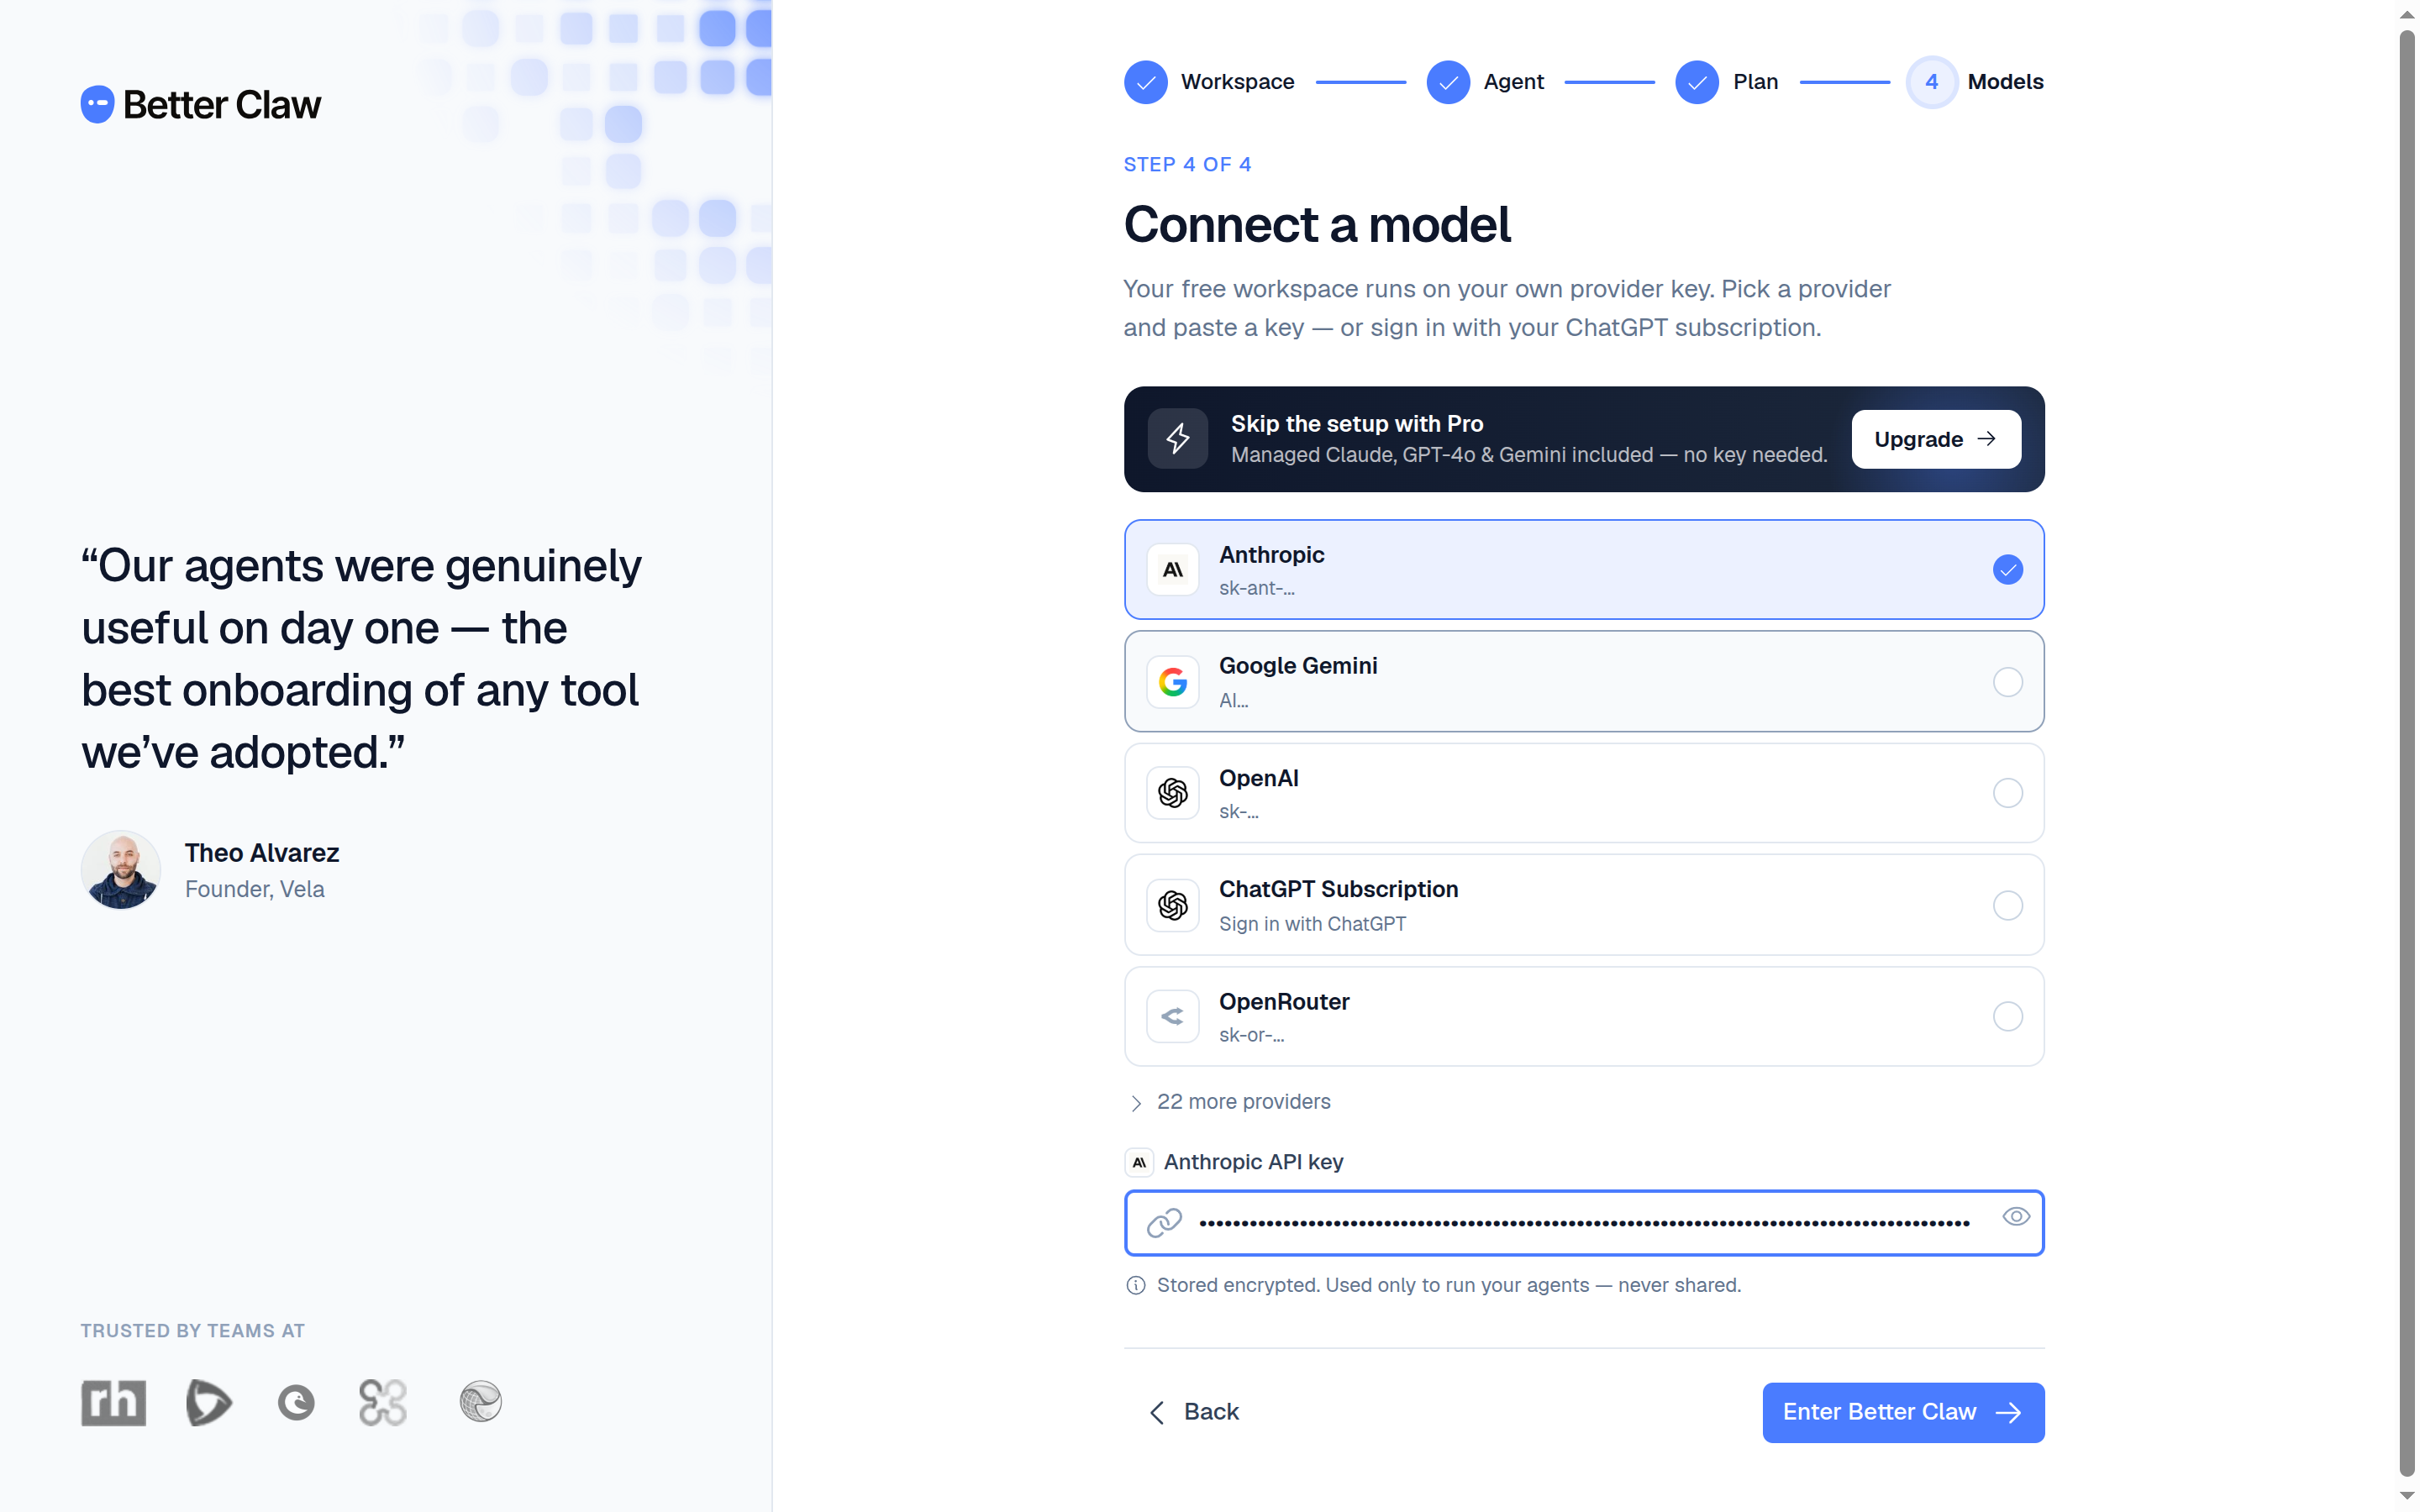
New accounts land in a short onboarding wizard with a four-step progress stepper.
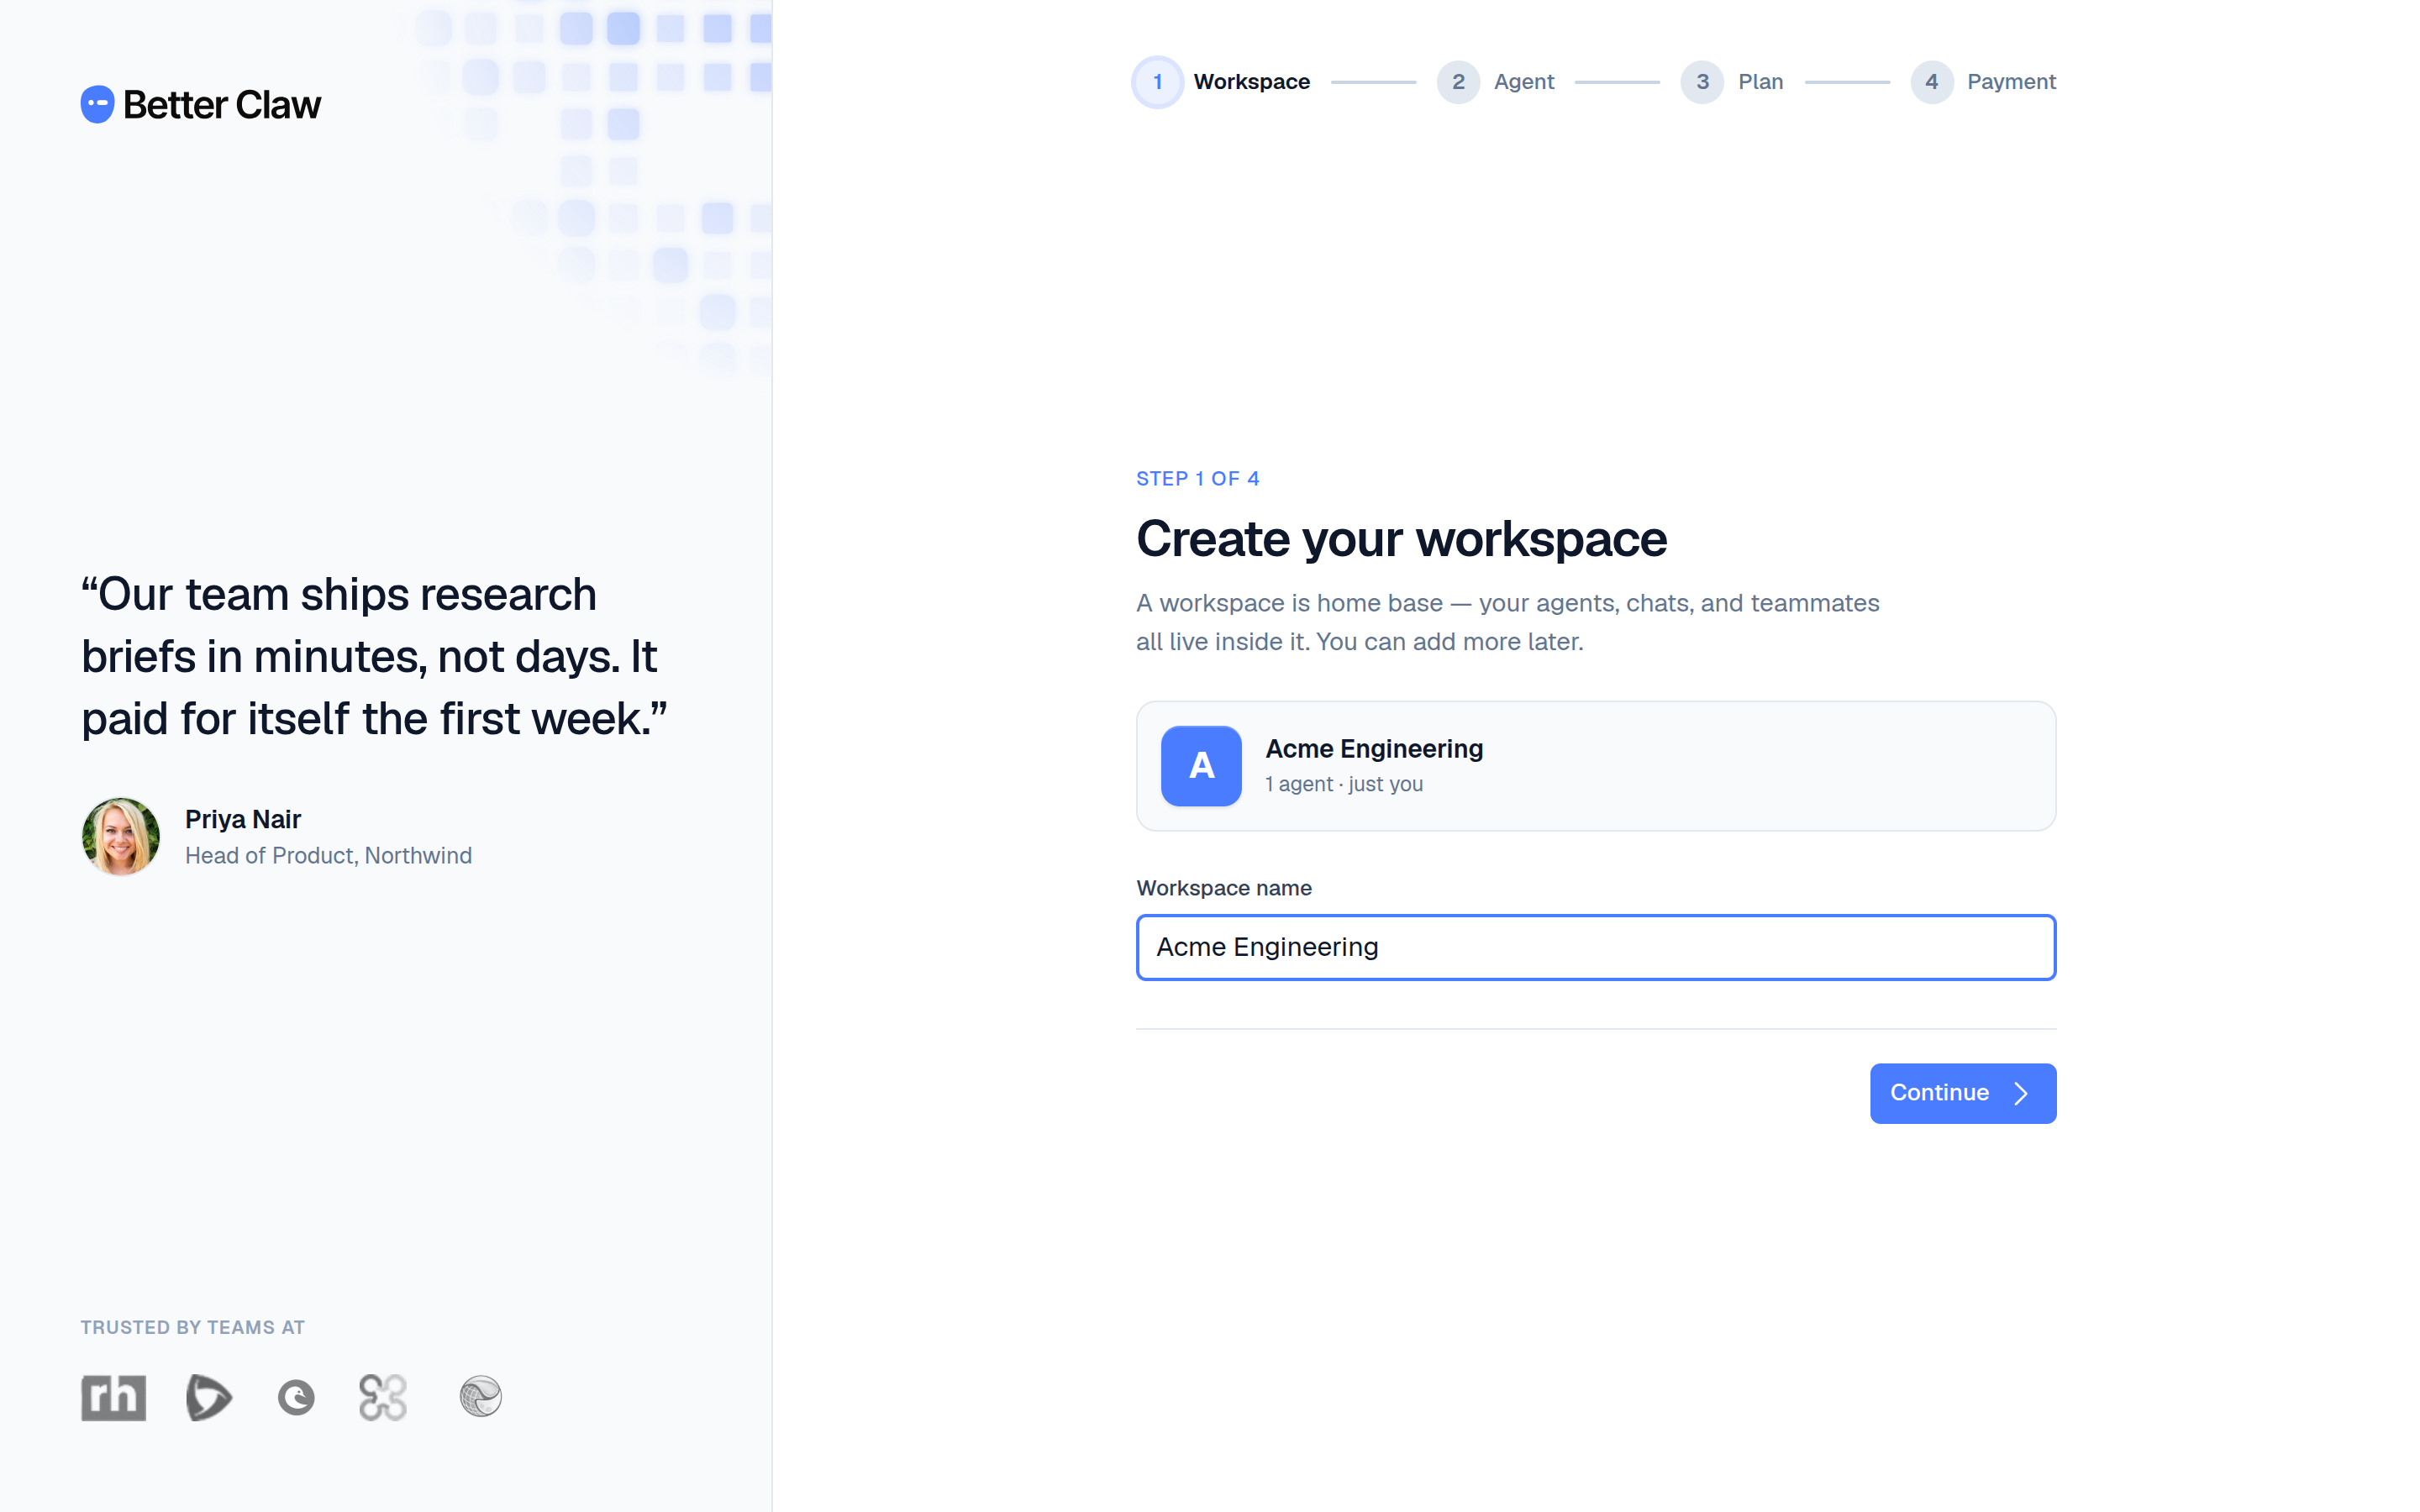
Step 1 — Create your workspace. Name it (for example, Acme Engineering). A workspace is
home base for your agents, chats, and teammates — you can add more later.
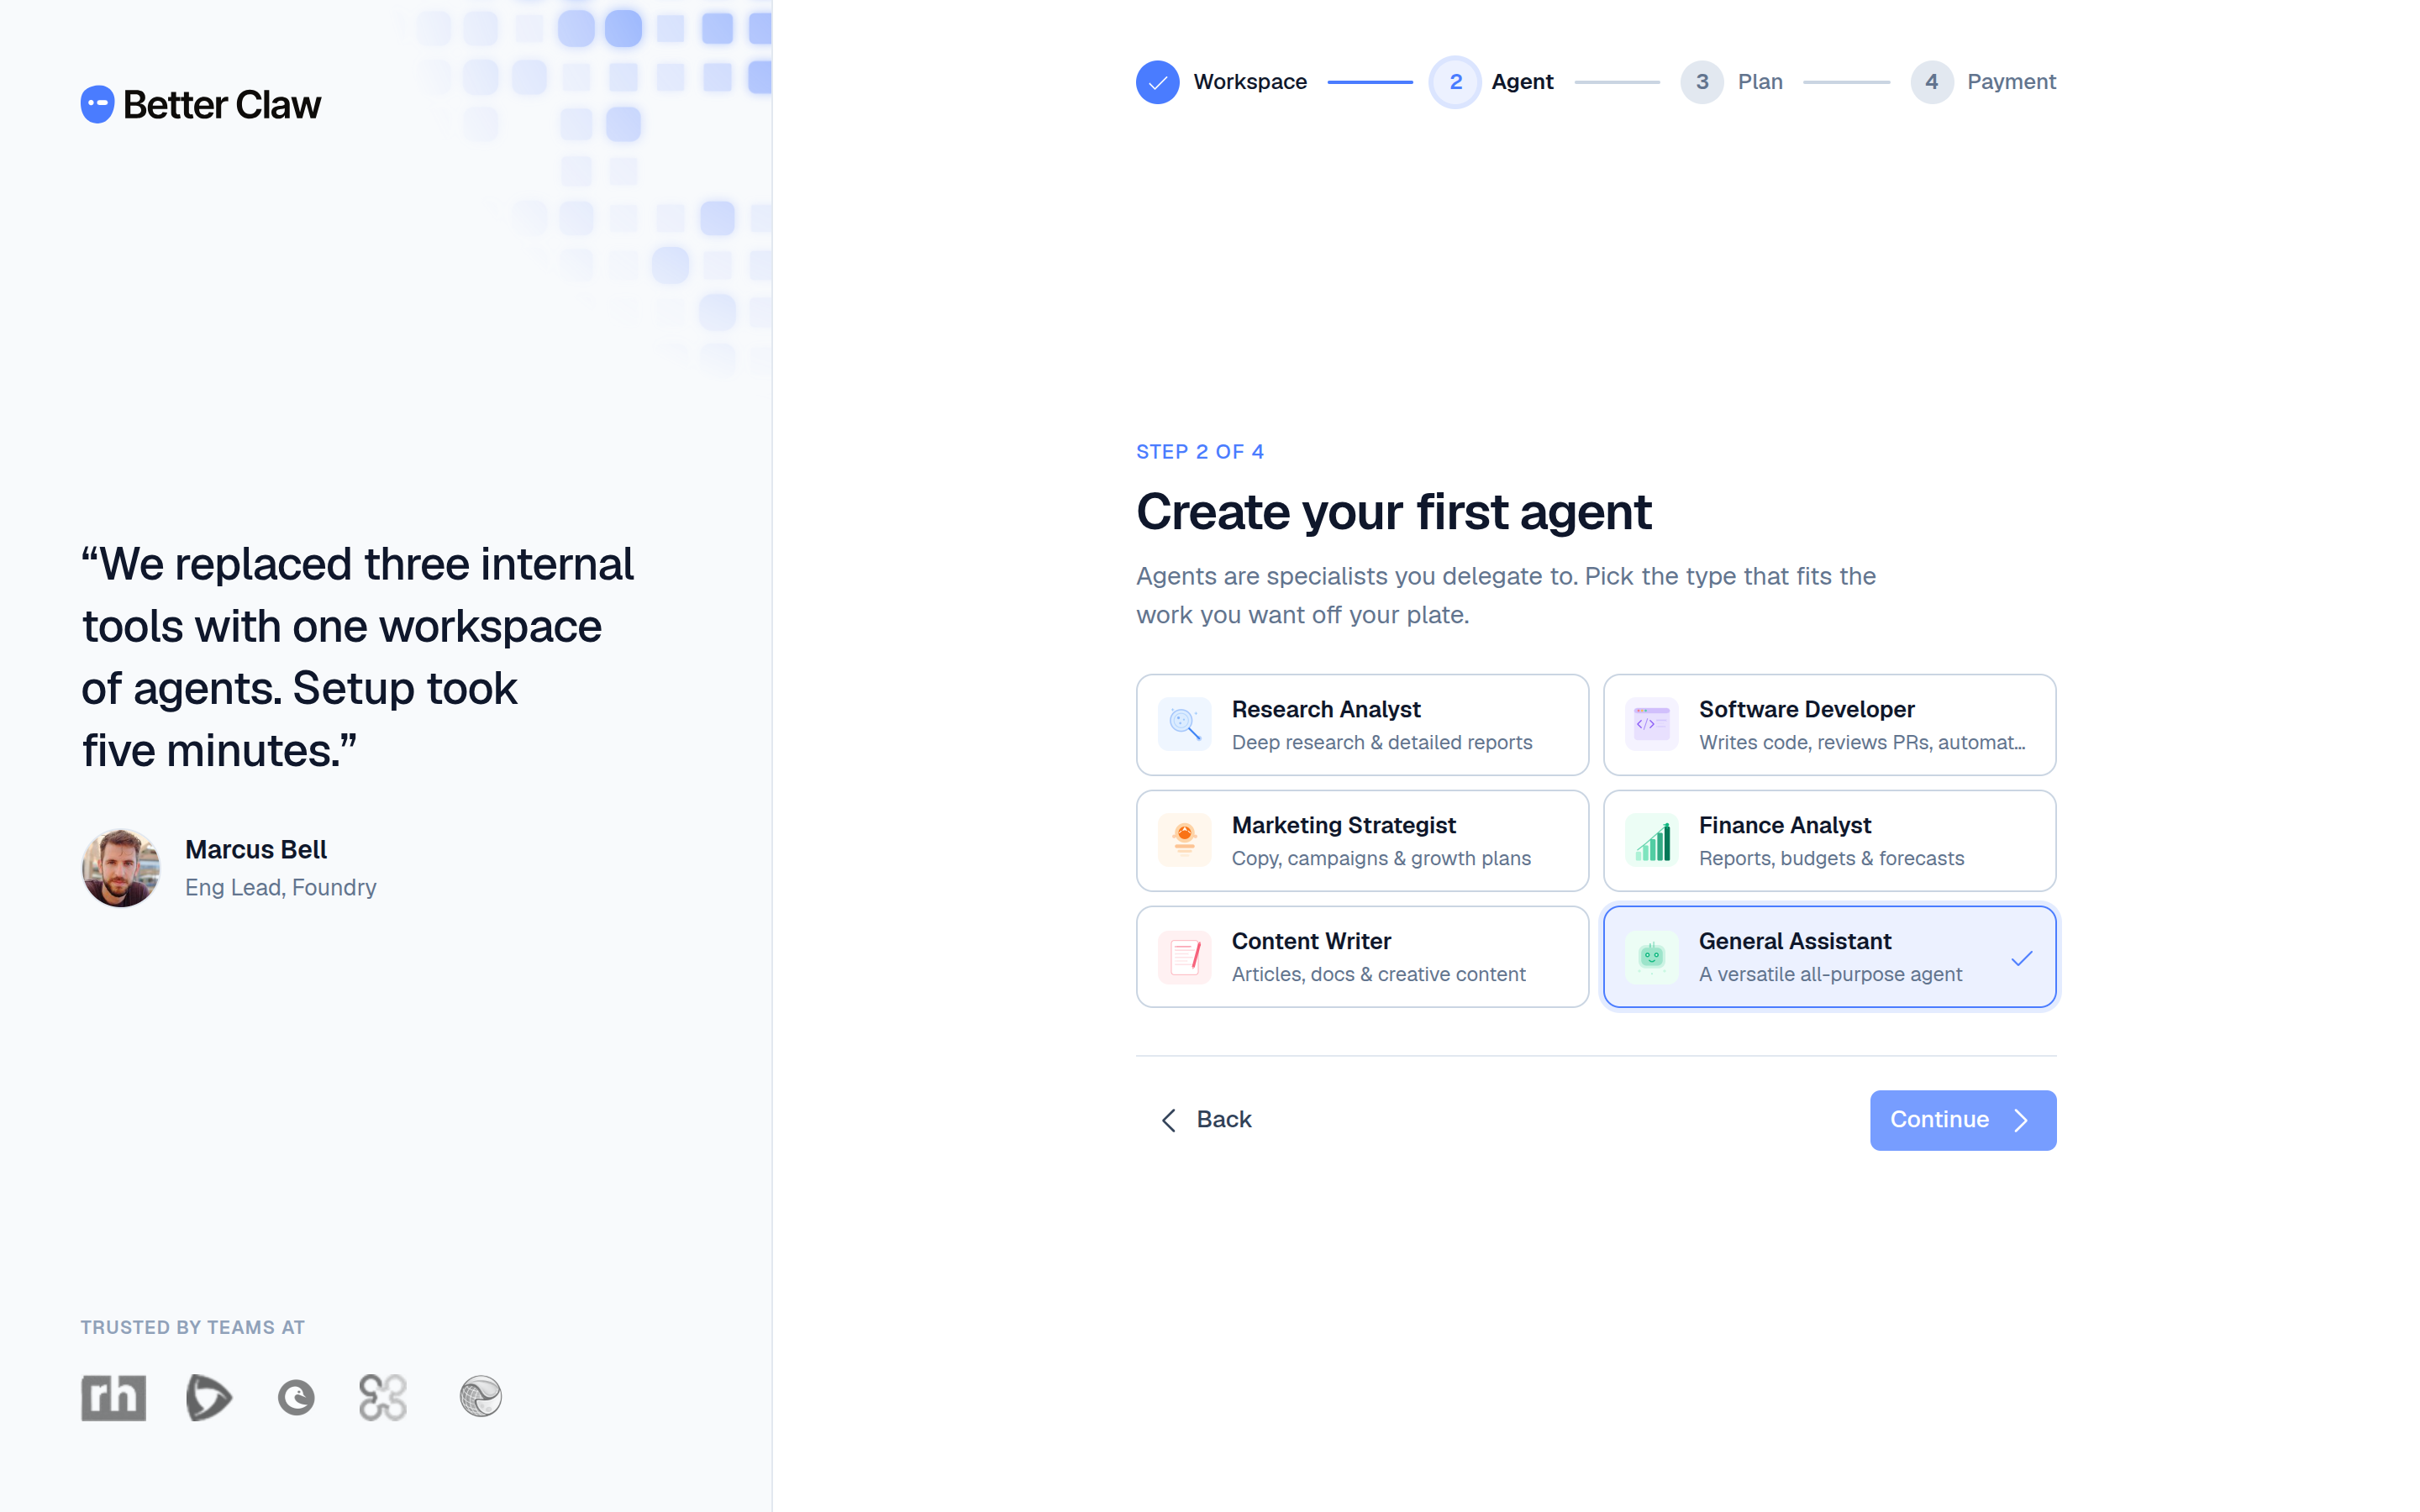
Step 2 — Create your first agent. Pick the agent type that fits your work: Research Analyst, Software Developer, Marketing Strategist, Finance Analyst, Content Writer, or General Assistant.
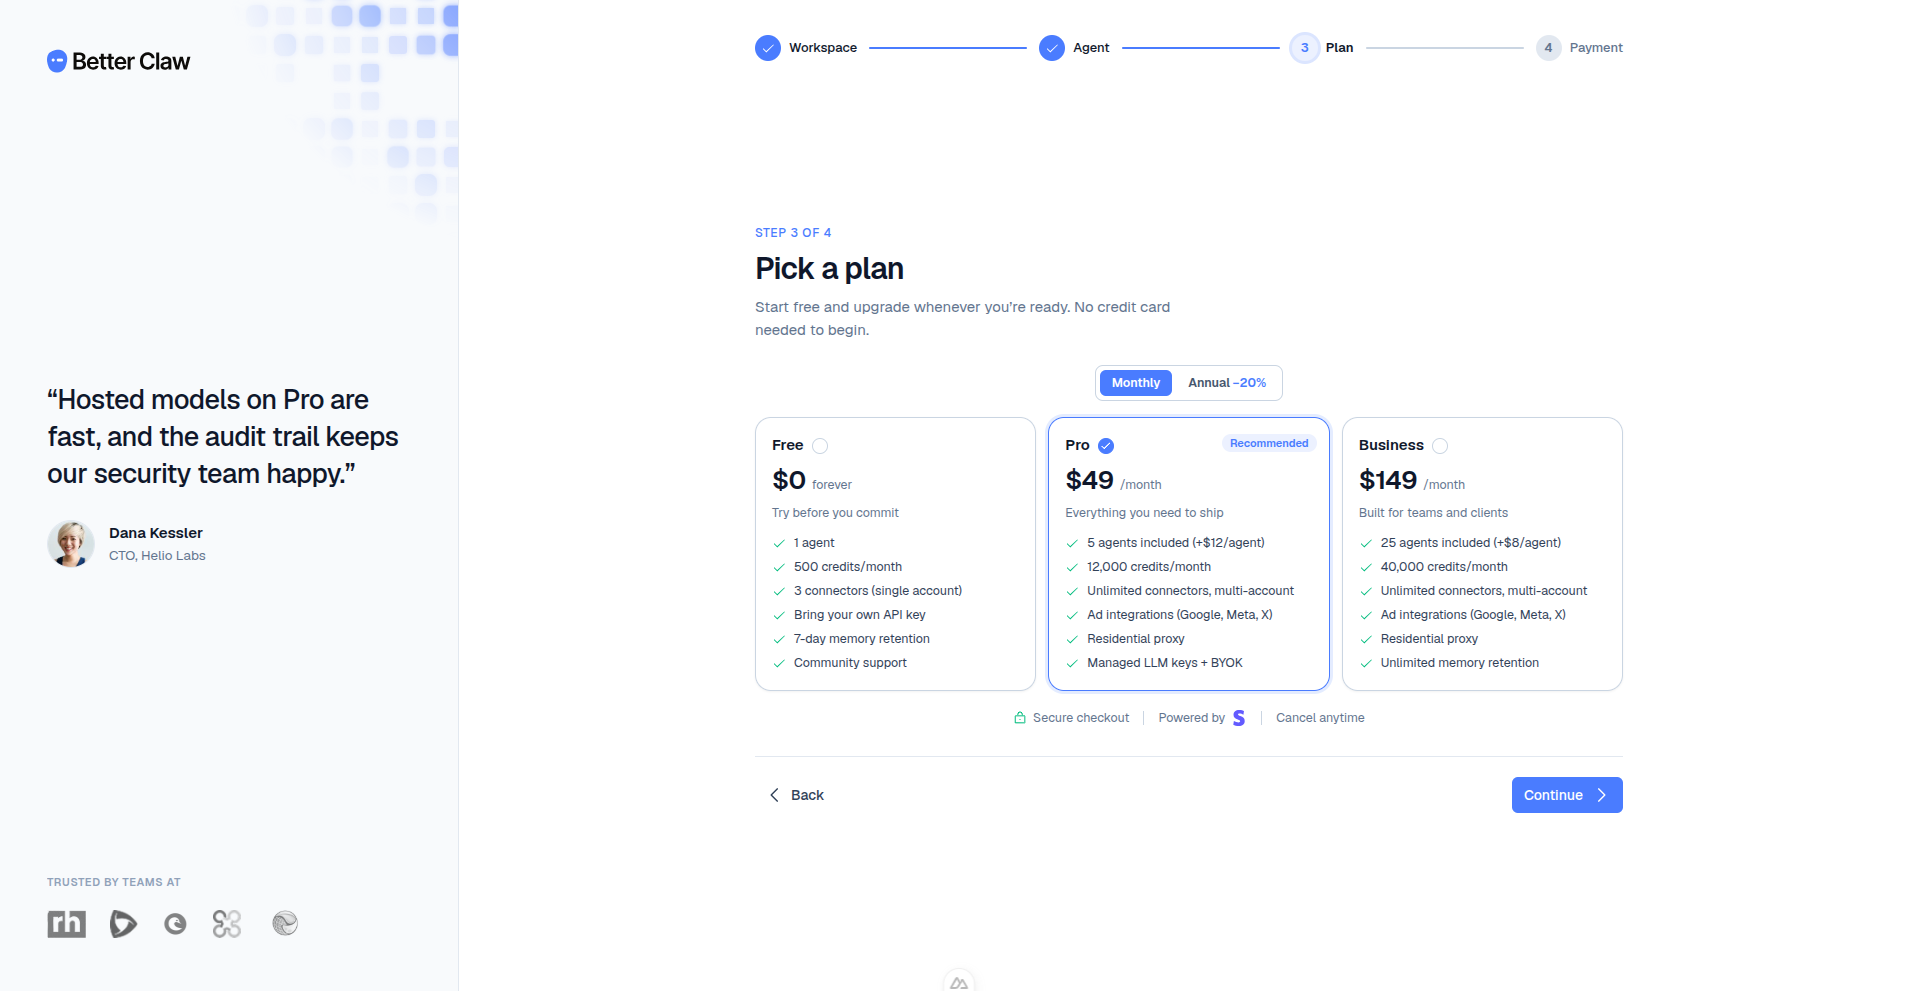
Step 3 — Pick a plan. Starter ($19/month), Pro ($49/month), or Business ($149/month) — flip the toggle to Annual for discounted annual pricing. Free is closed to new workspaces; existing Free workspaces continue unchanged.
Step 4 — Complete payment. Finish the BetterClaw-owned Stripe checkout inside the wizard. Starter includes up to $5 of managed LLM usage at no extra charge; Pro and Business include managed LLM access as well, so no provider key is required during checkout.
3. Wait for your workspace to provision
When checkout finishes, your workspace provisions automatically. Setup usually takes a minute or two.
4. Start your first chat
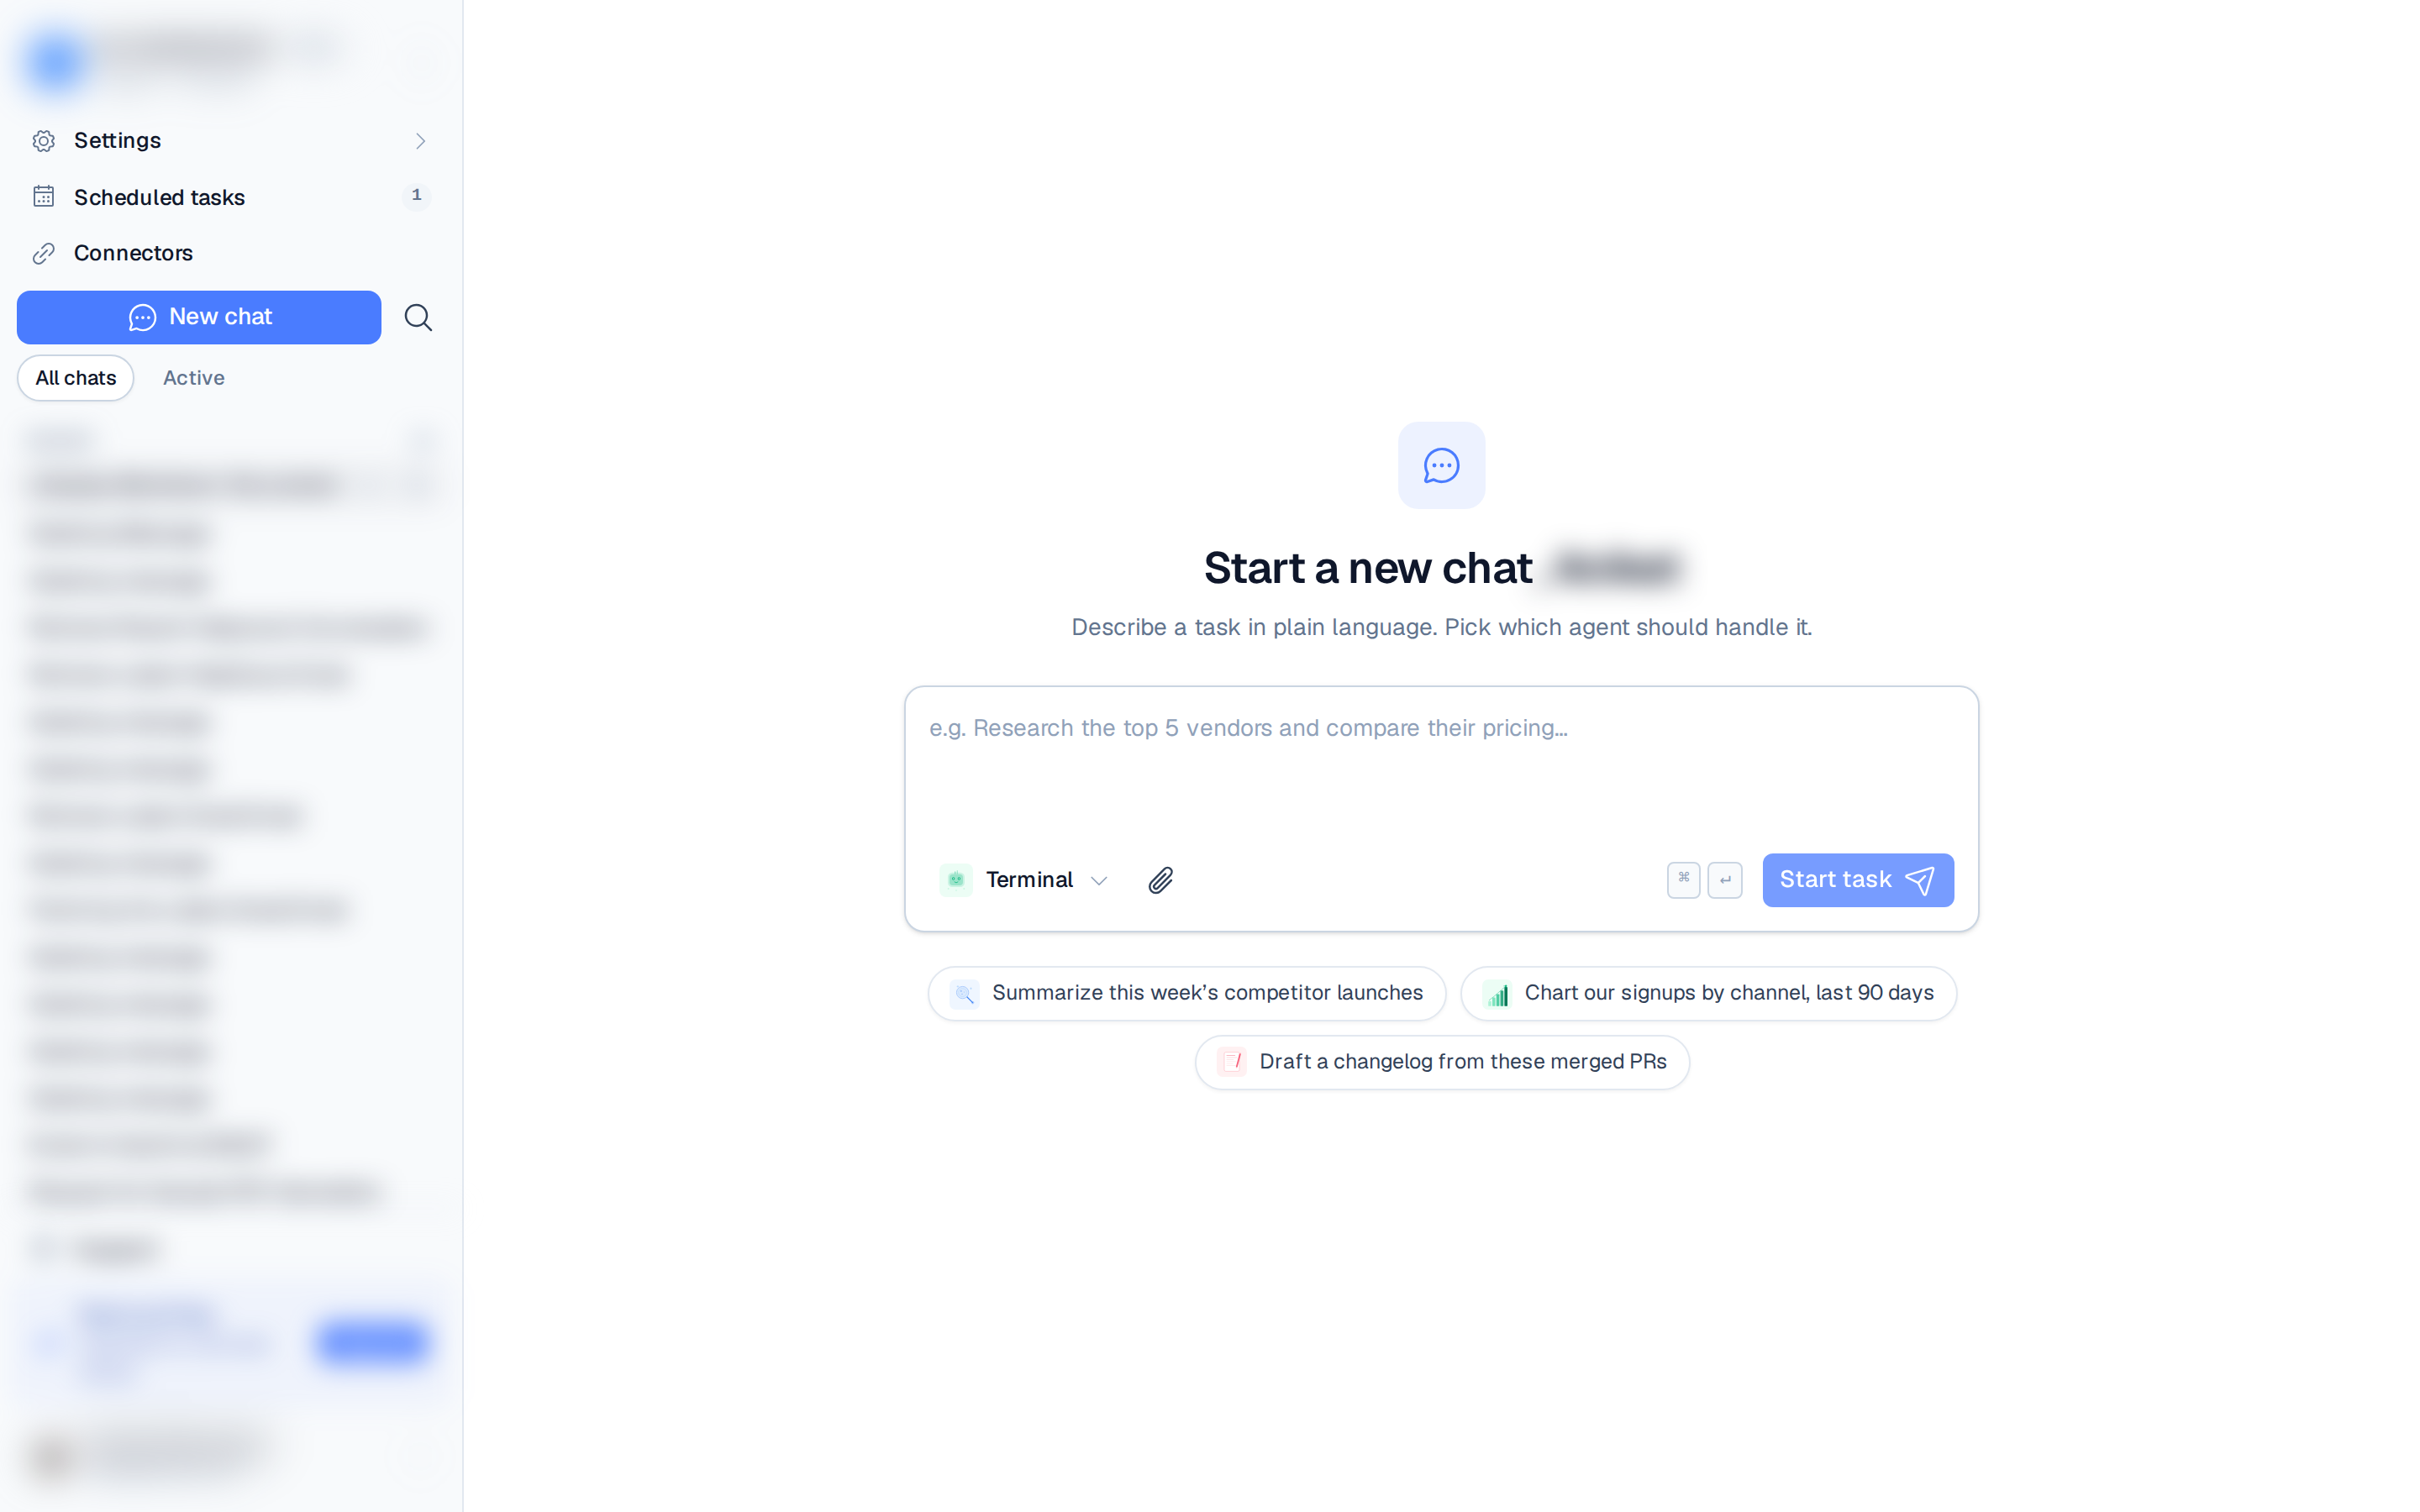
You land on the New chat screen. Type what you need in plain language, pick which agent
should handle it from the agent picker, and press Start task (or ⌘+↵). Your agent
replies in real time. You can attach files, and it can return documents you download.
5. Schedule a task
Open Scheduled tasks from the left rail, create a one-time task describing something you want done, and trigger it. Watch progress update live, then download any deliverables it produces.
Next steps
- Add skills to expand what your agent can do.
- Connect a messaging app so you can reach it from Telegram, Discord, or Slack.
- Store credentials your agent needs in the secrets vault.